

Quickstart
Get from zero to a live docs site in under five minutes.
Prerequisites
- A GitHub account.
- A GitHub repository for your docs, and permission to install the Bloques GitHub App on the account that owns it. The connect flow links to the Bloques docs starter template if you don't have a repository yet.
- A Bloques account. Sign-in is a magic link sent to your email.
Create your project
Sign in to Bloques
Open the Bloques sign-in page. Enter your email and select Continue with email. Open the magic link from your inbox to finish signing in.
Create an organization
Enter a name for your organization and a URL slug. The slug becomes part of your dashboard URL and must be unique. Select Create.
Create a site
Enter a site name and a subdomain. The subdomain becomes your site's public address at <slug>.bloques.site. Select Create site.
Connect your GitHub repository
Creating a site opens the Connect GitHub page, a three-step checklist. The site overview and the editor redirect back to the checklist until the site has a repository, so leave and return without losing your place.
Get a documentation repo
Select Start from template to create a repository from the Bloques docs starter. GitHub opens in a new tab with the repository name prefilled. To continue with a repository you own, select I already have a repo.
Install the Bloques GitHub App
Select Install GitHub App. GitHub opens to authorize the App. Grant access to the organization or account that owns the repository.
Pick your repository and branch
Back in Bloques, select the Github organization, the Repository, and the Branch to publish from. Every push to that branch redeploys the site. Select Finish setup.
See your site live
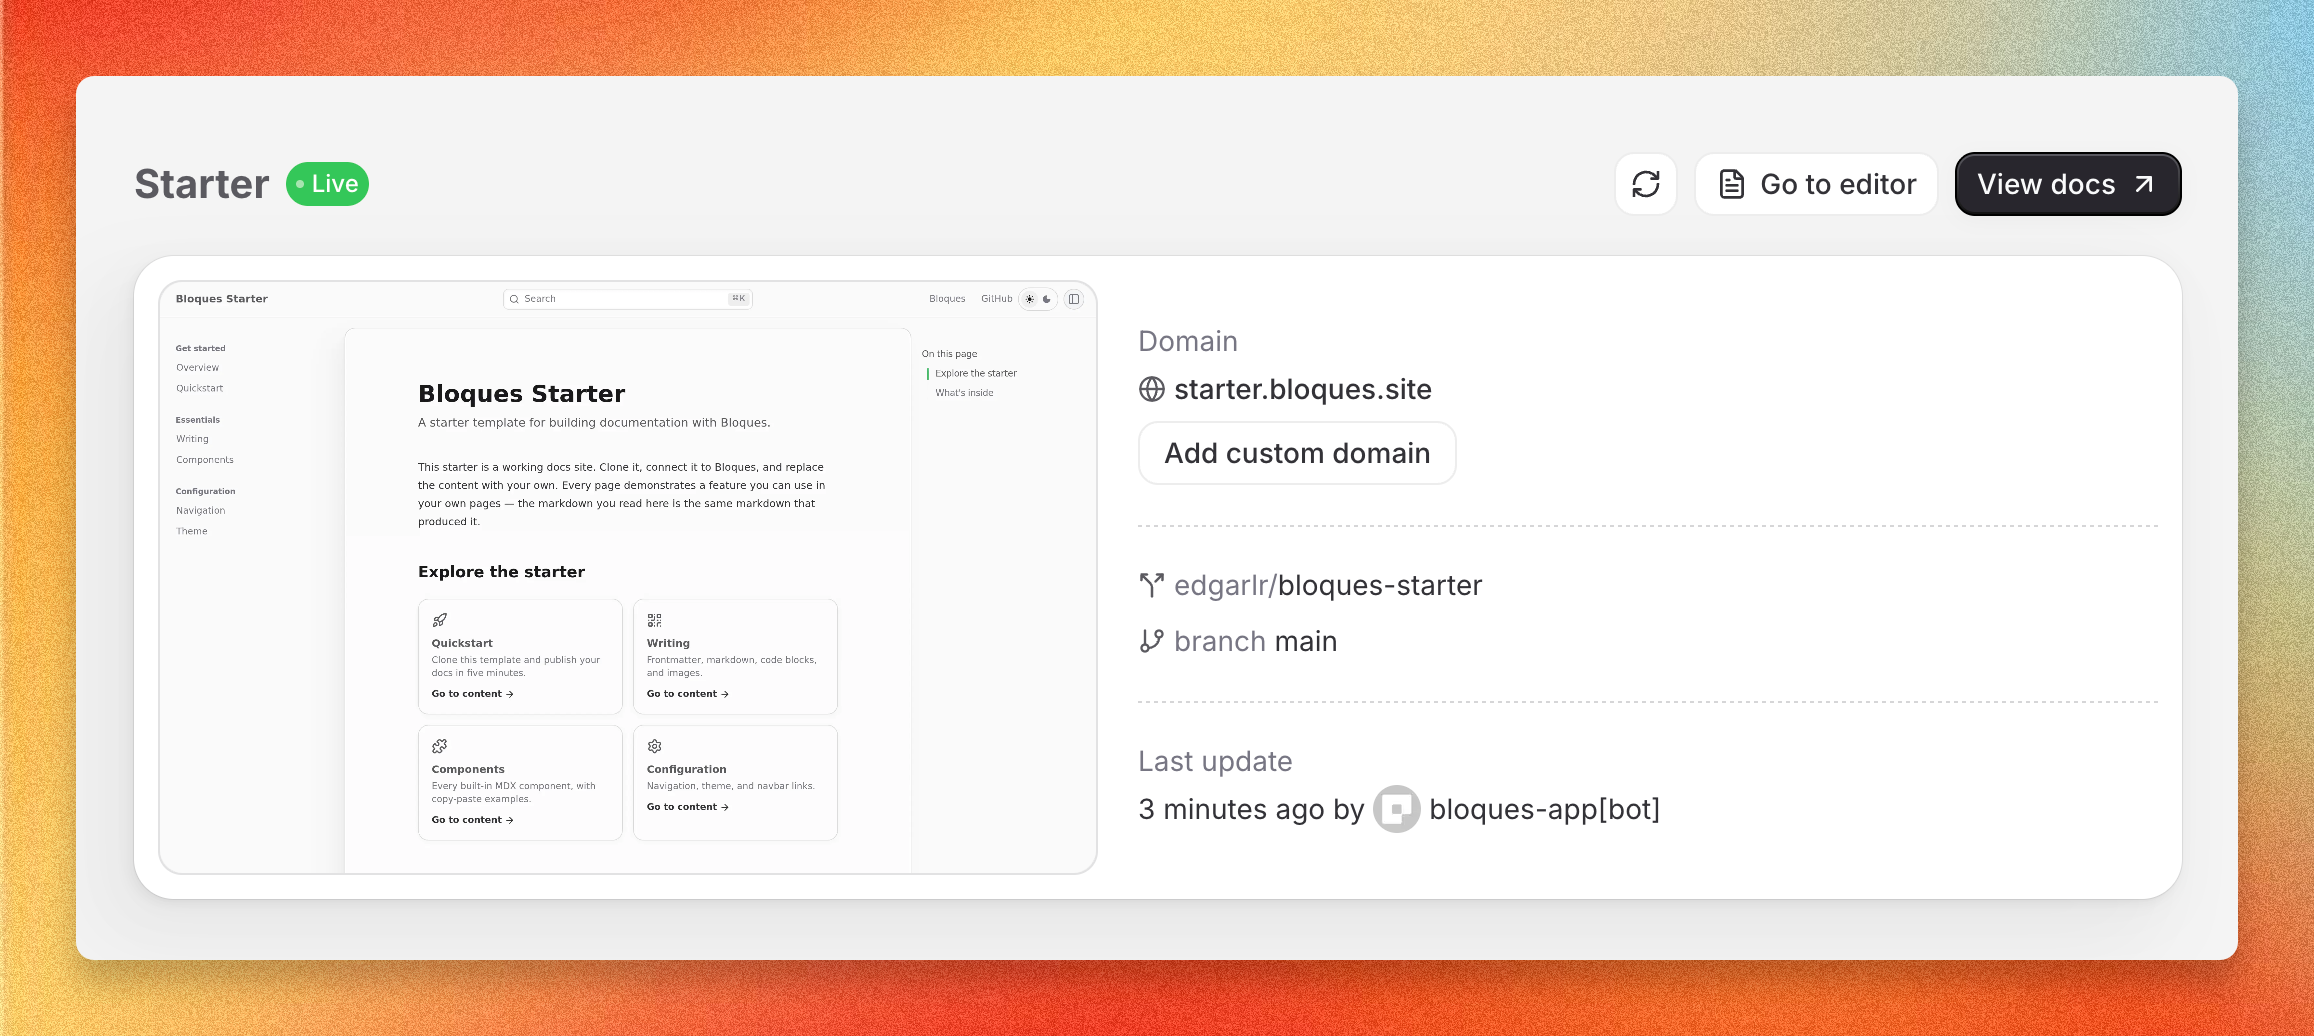
Finishing setup opens your site dashboard. Select Publish to run the first deploy, then wait for the deployment status to turn green. The first build takes about a minute.
Open <slug>.bloques.site in a new tab. The starter site is live.
Replace <slug> with the subdomain chosen during site creation.